Field
Fields
Fields are one of the basic building blocks of applications, combining different types of fields to build the application structure
Adding Fields
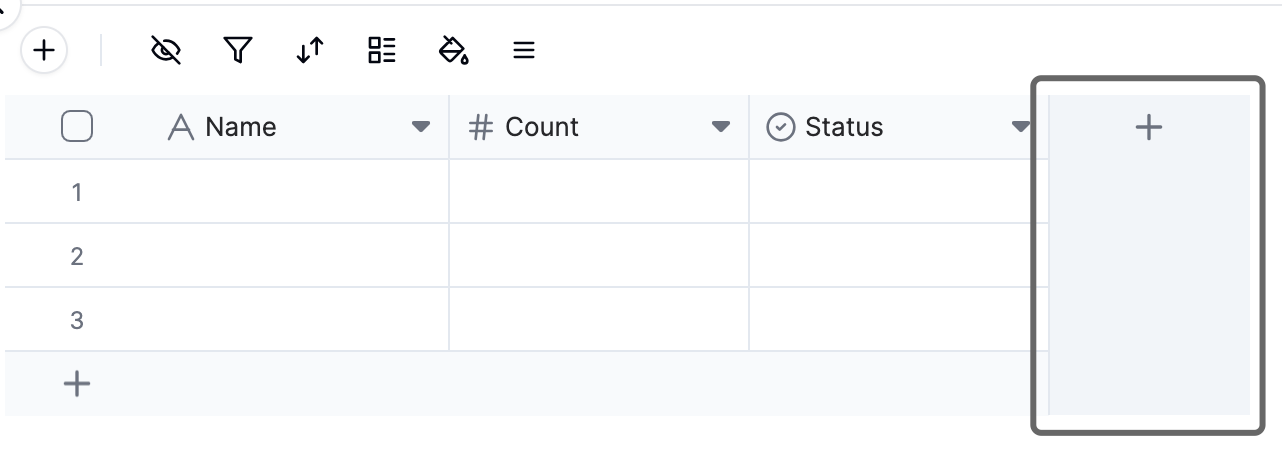
In the table view, follow these steps to add a new field:- Enter the table view
- Scroll the table to the rightmost side
- Click the + icon on the far right of the field bar\
- Edit the field in the popup dialog
- Click Save
Editing Fields
Users can edit fields when adding them or edit existing fields when needed. To edit an existing field, follow these steps:- Right-click the field you want to edit
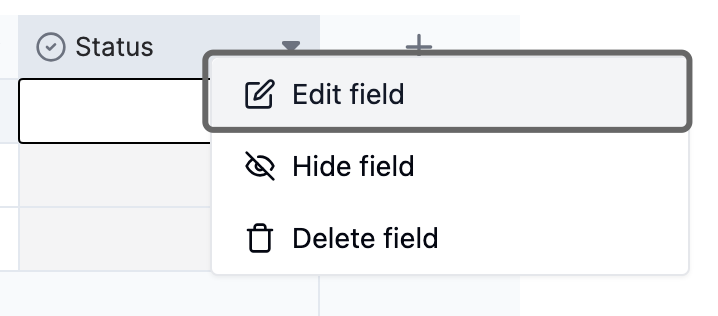
- Click the Edit Field option in the expanded menu
- Edit the field in the Edit Field dialog
- Click Save
Notes on Field Conversion
Notes on Field Conversion
Editing fields may trigger field conversion. Users can change the current field to a new field type, for example, converting a single-line text field to a single select field. However, in some cases, certain conversions may result in data loss. For example, converting a text field to an attachment field will lose all text information because plain text values cannot be converted to attachments.If you find that some cell values were lost during conversion, you can use the keyboard shortcut Ctrl+Z (Command+Z) to undo the conversion, restoring the field to its previous state and recovering any data lost due to the conversion.For detailed information about each field type and its specific customization options, please refer to the documentation for each field type.
Deleting Fields
- Right-click the field you want to edit
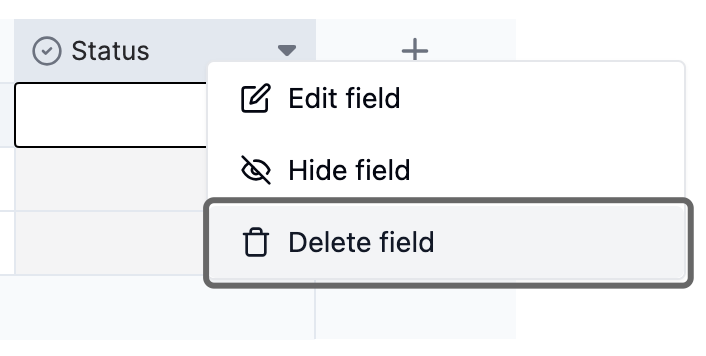
- Click the Delete Field option in the expanded menu
- Click Confirm in the confirmation dialog
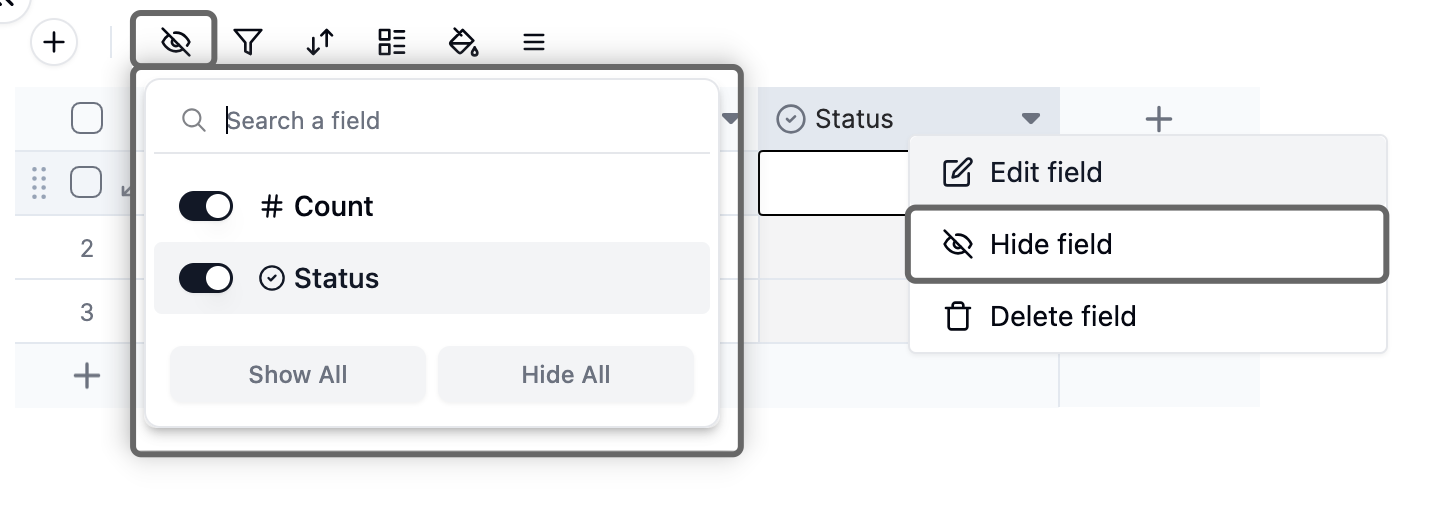
Hiding Fields
Users can hide fields through the field right-click menu or the hide tool. Hidden fields will not be displayed in the table view. Users can control field visibility at any time using the hide tool. For more information about the table view toolbar, please visit the View Toolbar article.